Conclusion
Conclusion
DIY or Buy?
DIY
| Advantages | Disadvantages |
|---|---|
|
|
Buy
| Advantages | Disadvantages |
|---|---|
|
|
Conclusion
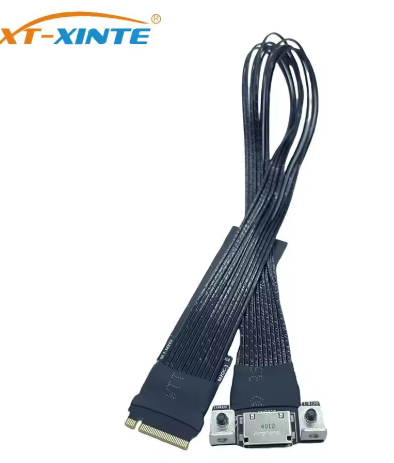
Image 25. Aliexpress M.2 Oculink PCIe 4.0 silver plated extension cable
(source)
- Buying the Aliexpress M.2 Oculink PCIe 4.0 adapter is the much more sensible option.
- It works out of the box and requires minimal bending to fit into your enclosure.
- Also comes in a variety of lengths:
[15cm, 20cm, 25cm, 30cm, 40cm].
Future plans
- Check mini cool edge IO (MCIO) connector:
- Has a better official number of insertion cycles.
- Cables are designed officially for PCIe 4.0 speeds.
- Fix performance problems and see if PCIe 4.0 speeds can be reached.
- Redesign hatch plane and taper in flexible PCB design.
- Use a low loss dielectric to reduce dielectric losses at PCIe 4.0 speeds.
- Use smooth copper foil to reduce skin effect losses.
- Determine if there is a method to cheaply verify performance at PCIe 4.0 speeds.
- High frequency oscilloscopes (>20GHz) required for PCIe testing are extremely expensive.
- Most low cost (<$1000) and low frequency (<200MHz) oscilloscopes are not useful for validating PCIe peformance.